(A Story of Wine, Food, and a Guy Named Silver Steve)
Day 1: Arrival in San Francisco and the Journey to Wine Country
Flying into San Francisco International Airport (SFO), we picked up our rental—a sleek BMW 5 Series from Sixt. At just $200 total for our entire trip, it was a steal, and as a BMW enthusiast, I couldn’t have been happier. There are some KILLER roads in the area with seemingly too high of speed limits 🙂 Sixt consistently offers a top-notch experience, especially for luxury vehicles. It’s the only place I like to rent from.
Exploring Fisherman’s Wharf
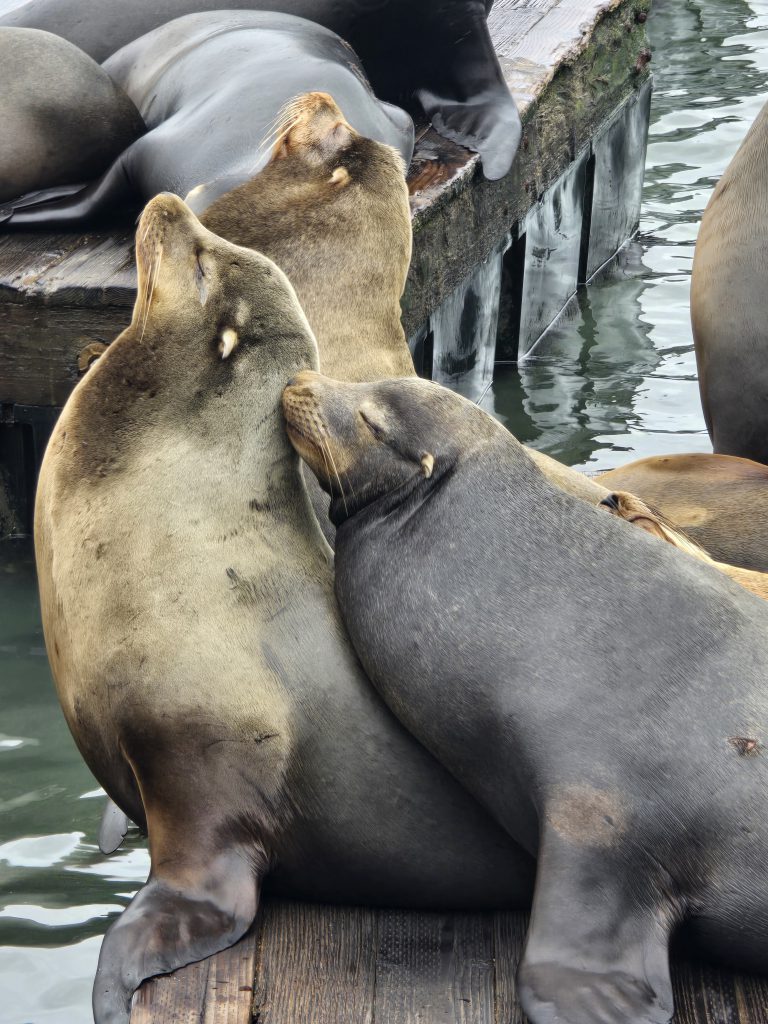
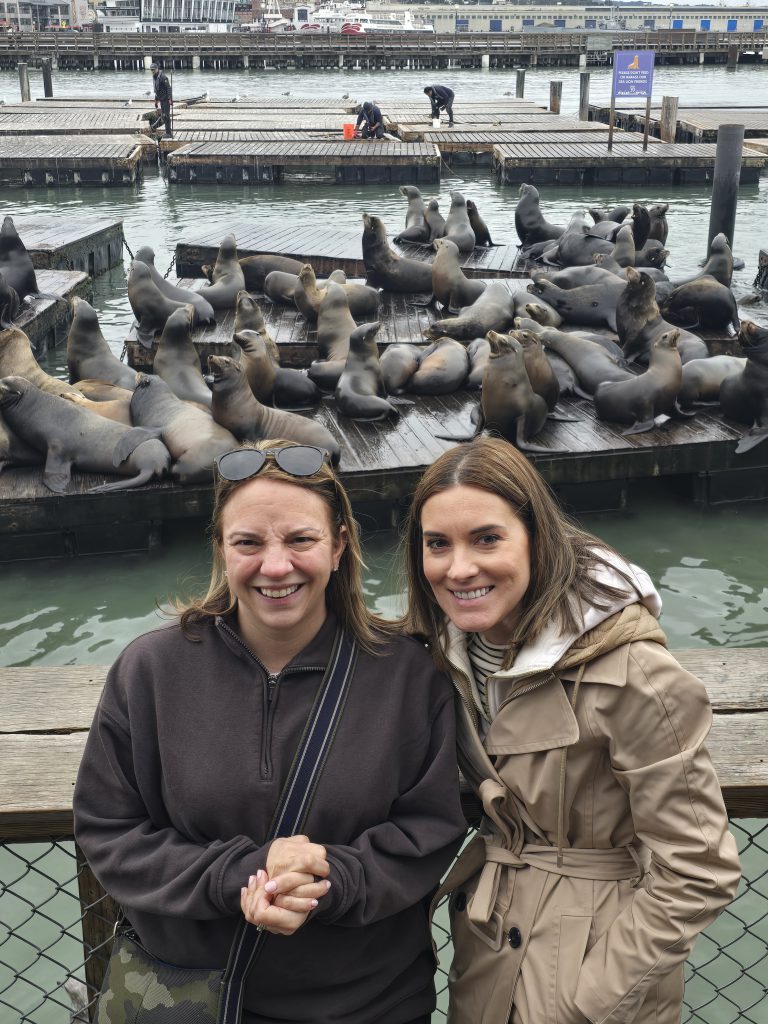
We made a pit stop at Fisherman’s Wharf to see the famous sea lions. Arriving around 11 AM on a Thursday, the area was pleasantly uncrowded, though a school group was present, providing an impromptu educational experience about the sea lions’ post-earthquake migration to the wharf. The sea lions were loud, entertaining, frankly hilarious, and surprisingly, not too smelly.

Crossing the Golden Gate Bridge
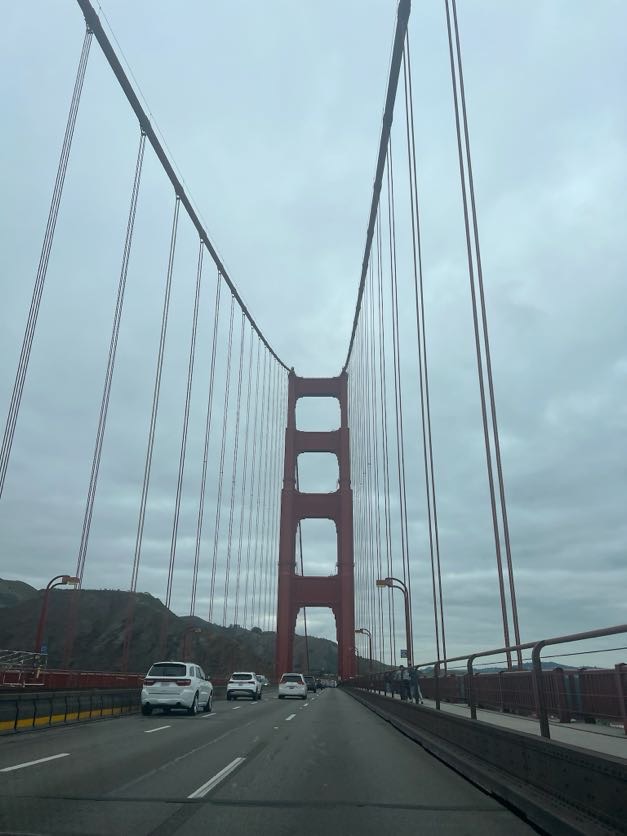
Our next adventure was driving across the iconic Golden Gate Bridge. Despite the heavy fog that morning, the bridge’s grandeur was undeniable. While many hail it as a marvel, to me, it was a beautiful yet functional piece of infrastructure. In other words, “it’s a bridge“.

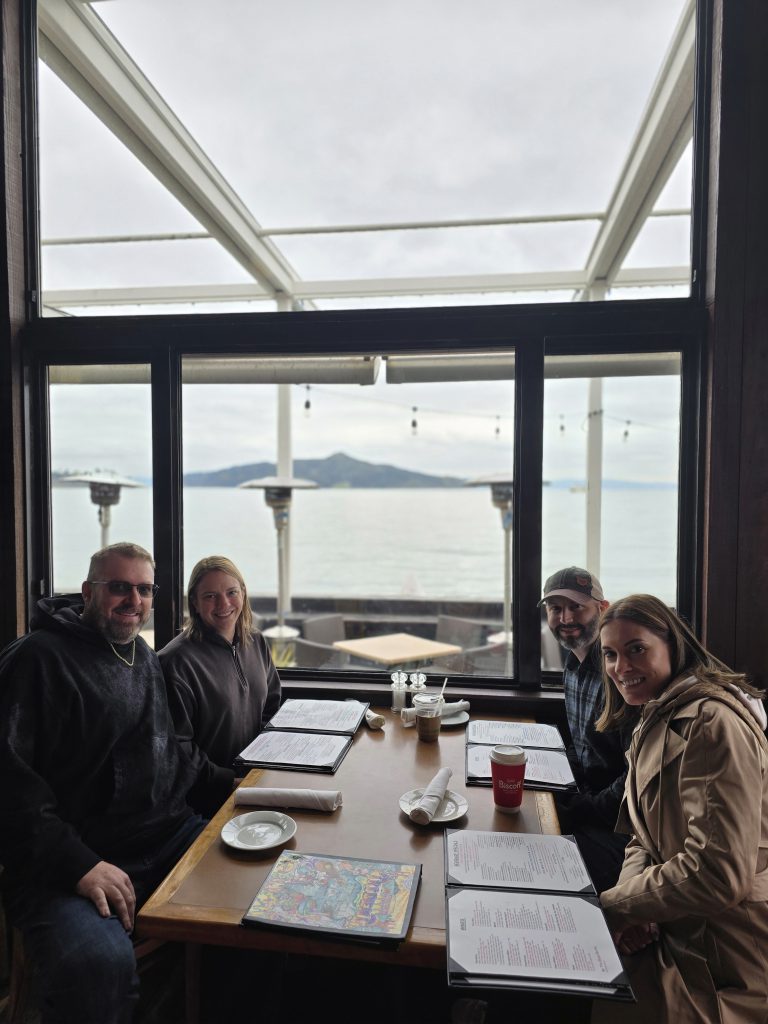
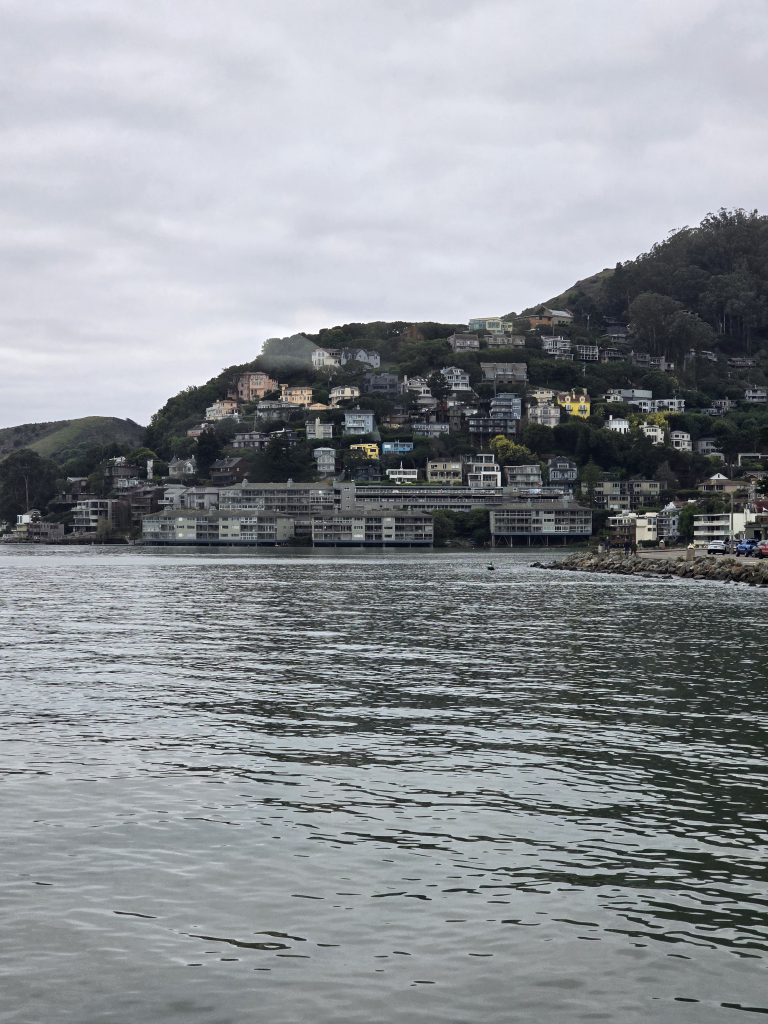
Lunch in Sausalito
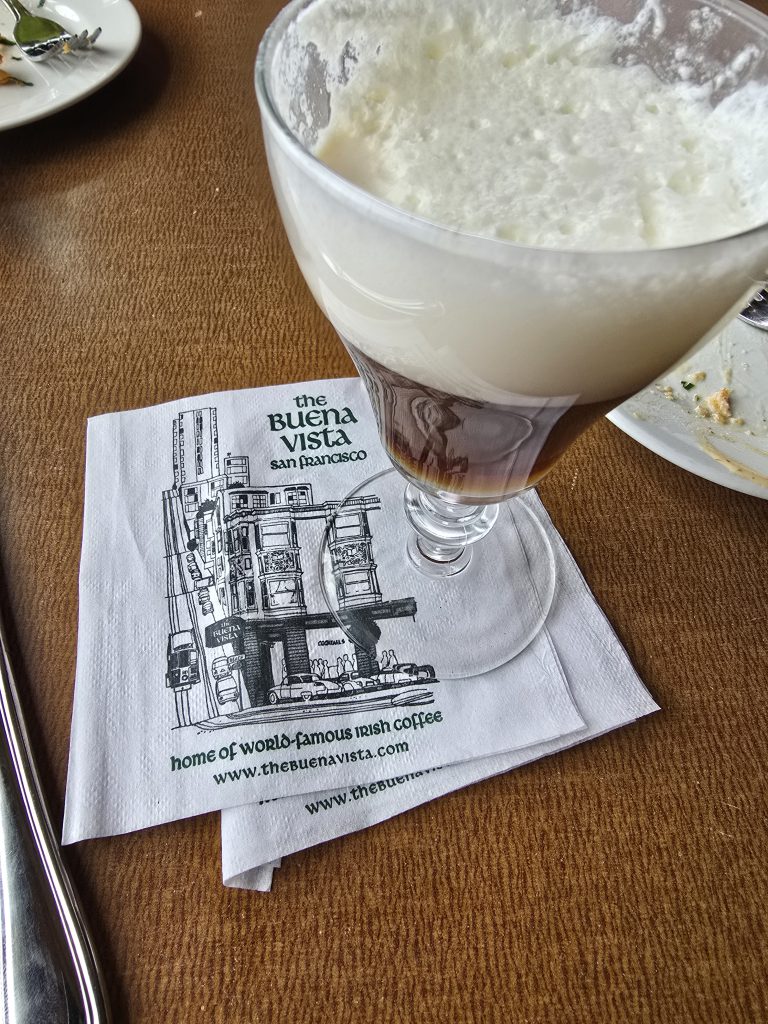
Continuing our journey, we drove through the quaint town of Sausalito. With its charming, colorful hillside houses, Sausalito offered a serene contrast to the bustling city. We decided to have lunch at The Trident, a waterfront restaurant with ties to San Francisco’s renowned Buena Vista Café. Opting for the clam chowder bread bowl and their famous Irish coffee, the meal was satisfying, earning a solid 6/10 in my book. The view from our table, overlooking the bay and Alcatraz, added a special touch to the experience.
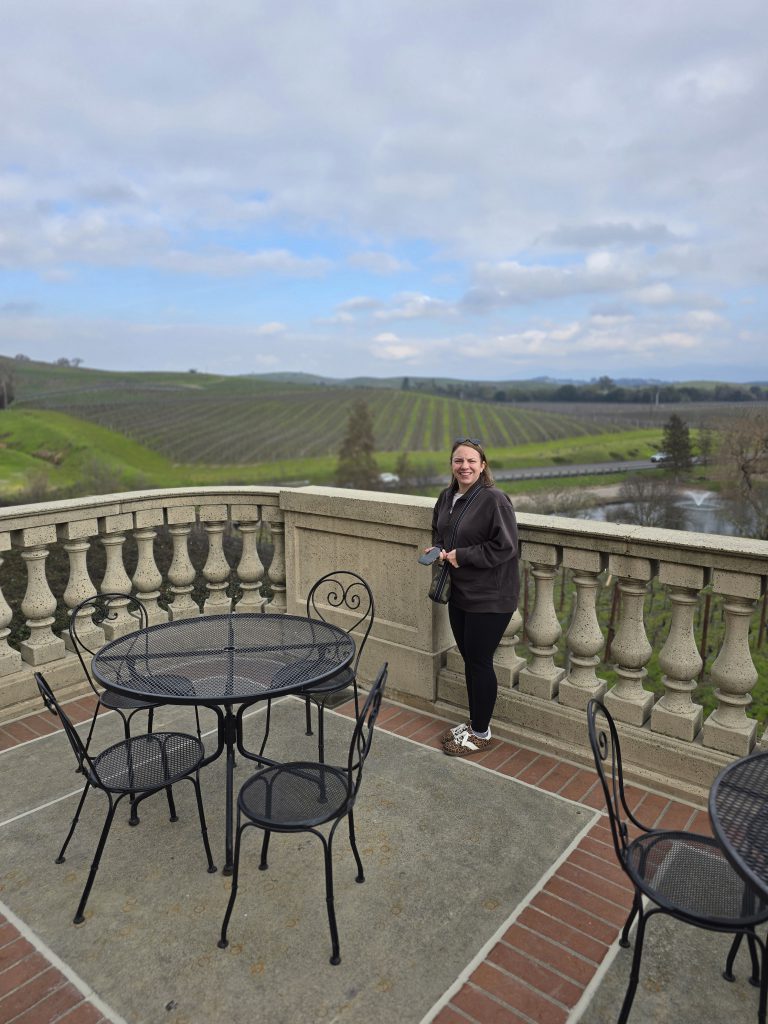
Afternoon Wine Tastings
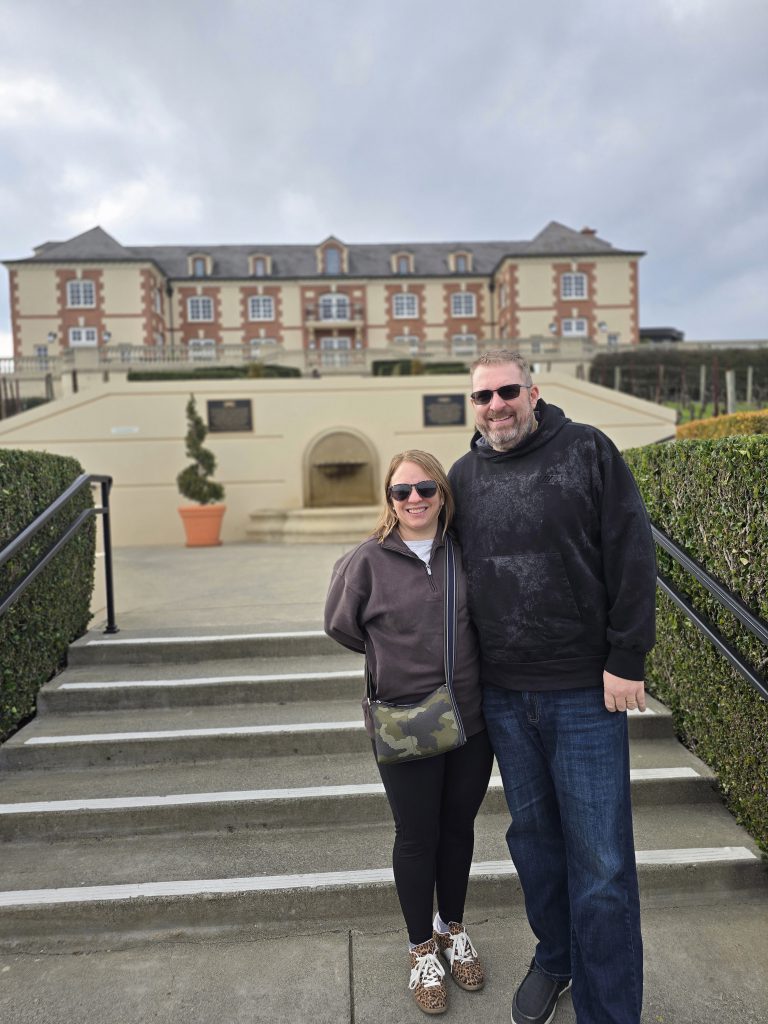
Post-lunch, we embarked on our first wine tastings. Our initial stop was Domaine Carneros, established in 1987 by Champagne Taittinger. The estate, modeled after Taittinger’s Château de la Marquetterie in France, is undeniably beautiful. However, the experience felt a bit commercial, and the sparkling wines, while decent, didn’t particularly stand out.
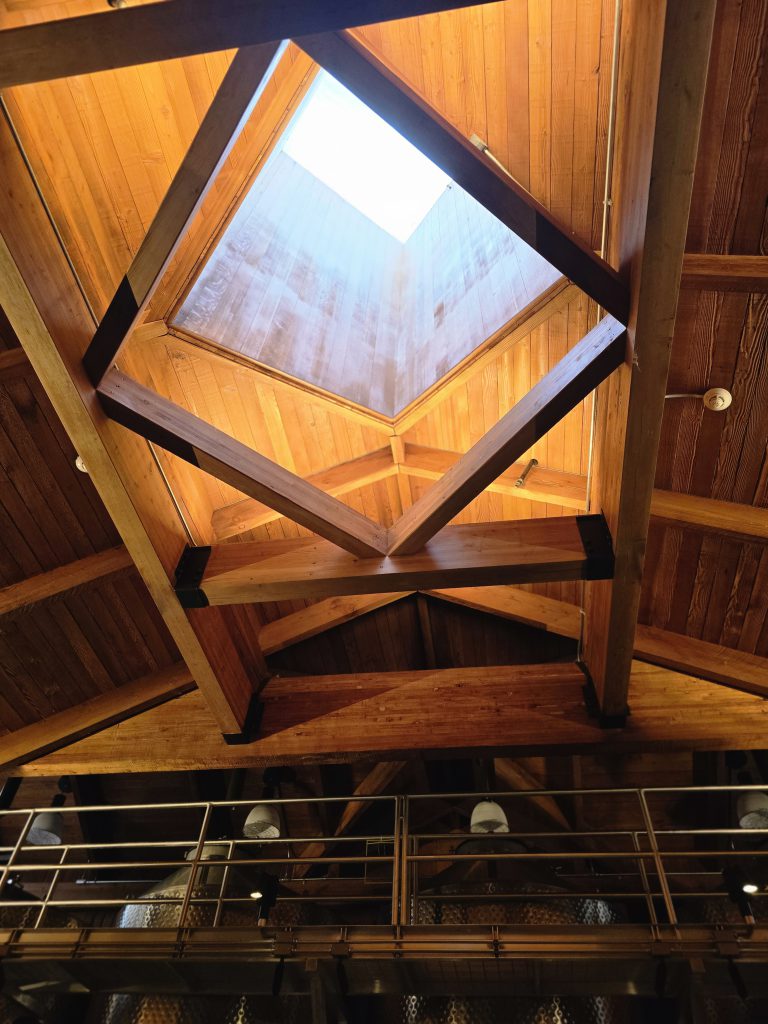
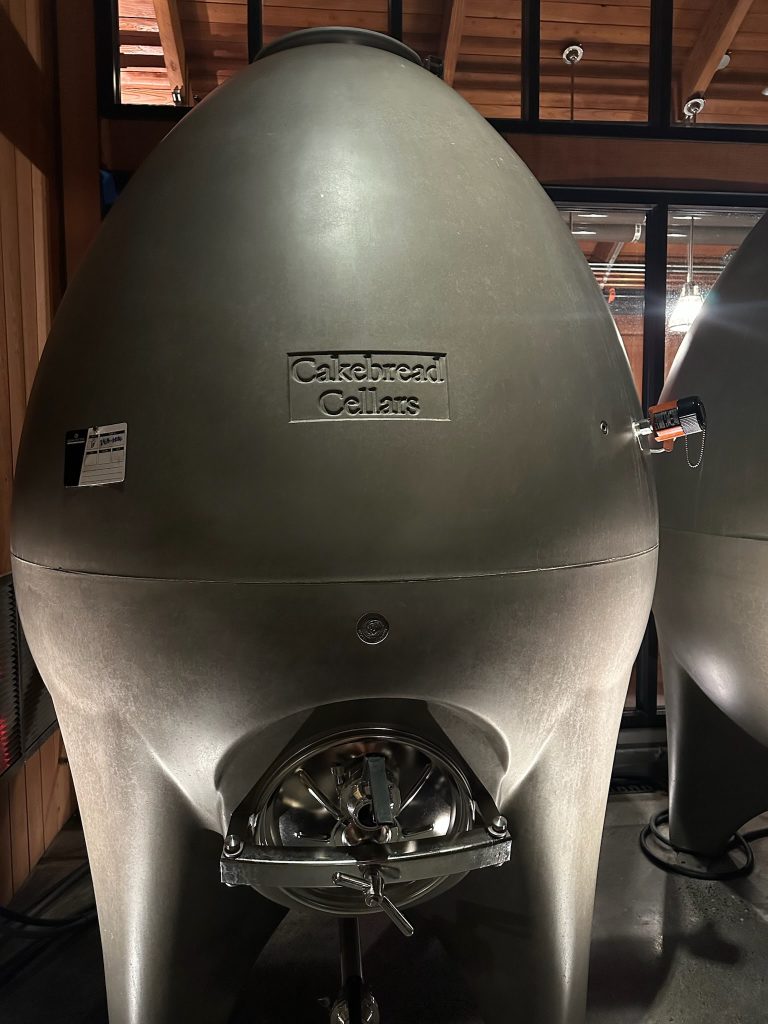
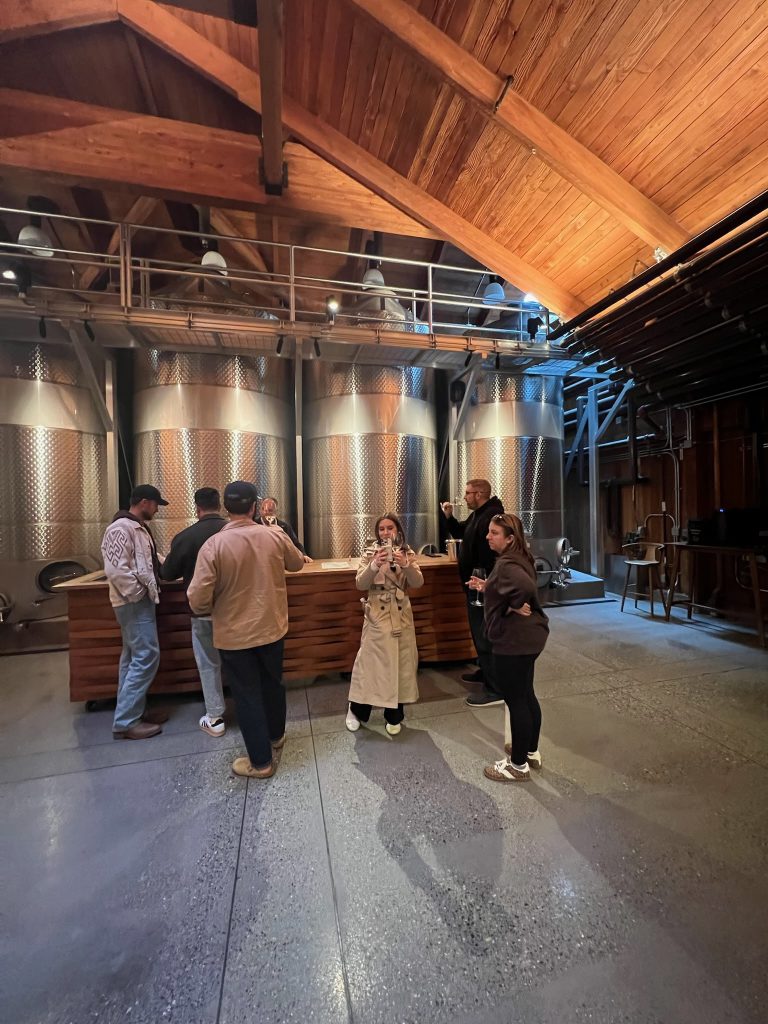
Next, we visited Cakebread Cellars, a winery with a rich history dating back to 1973. Founded by Jack and Dolores Cakebread, the winery has been a pioneer in Napa Valley’s transformation into a premier wine region, a true “anchor of the valley”. The tour was engaging, and I was particularly intrigued by their use of concrete egg fermenters—a unique approach I’d not encountered before. Although we didn’t purchase any wine at the time, a decision I later regretted, the experience was memorable. We will be ordering online.

Arrival in Healdsburg
As evening approached, we made our way to Healdsburg and checked into the Hilton Lodge. Being loyal Hilton members, we utilized our points for the stay. The hotel exuded luxury, featuring a fireplace and a soaking tub in our room. Despite the cold and rainy weather deterring us from using the balcony, the amenities provided a cozy retreat. The only drawback was the shower’s compact size, which proved a bit challenging for someone of my stature, but even for my tiny wife it was a struggle.
Dinner at Bravas de Tapas
For dinner, we chose Bravas de Tapas, a Spanish restaurant known for its inventive take on classic dishes. The ambiance was cozy, and the food was delightful. Standout dishes included the long-cooked pork cheeks with salsa verde, creamy chicken croquetas, and Dungeness crab-stuffed piquillo peppers. While the paella was a bit underwhelming—lacking the desired crispy rice crust and flavor depth—the overall experience was commendable, earning an 7/10. Sharing multiple small plates is our preferred dining style, and Bravas delivered beautifully.
After an eventful day, we returned to the hotel to rest, eager for the wine adventures awaiting us the next day.
Day 2: The Ultimate Wine Tour with Silver Steve
Why you need a guy like Steve
If you’re visiting Napa and think you can just wing it, let me stop you right there. Gone are the days of rolling up to a winery, casually strolling in, and asking for a tasting. Now, it’s all reservation-only, and the best spots book up weeks in advance. Enter Silver Steve from Silver Service Tours—the undisputed MVP of our trip. I can’t stress this enough.
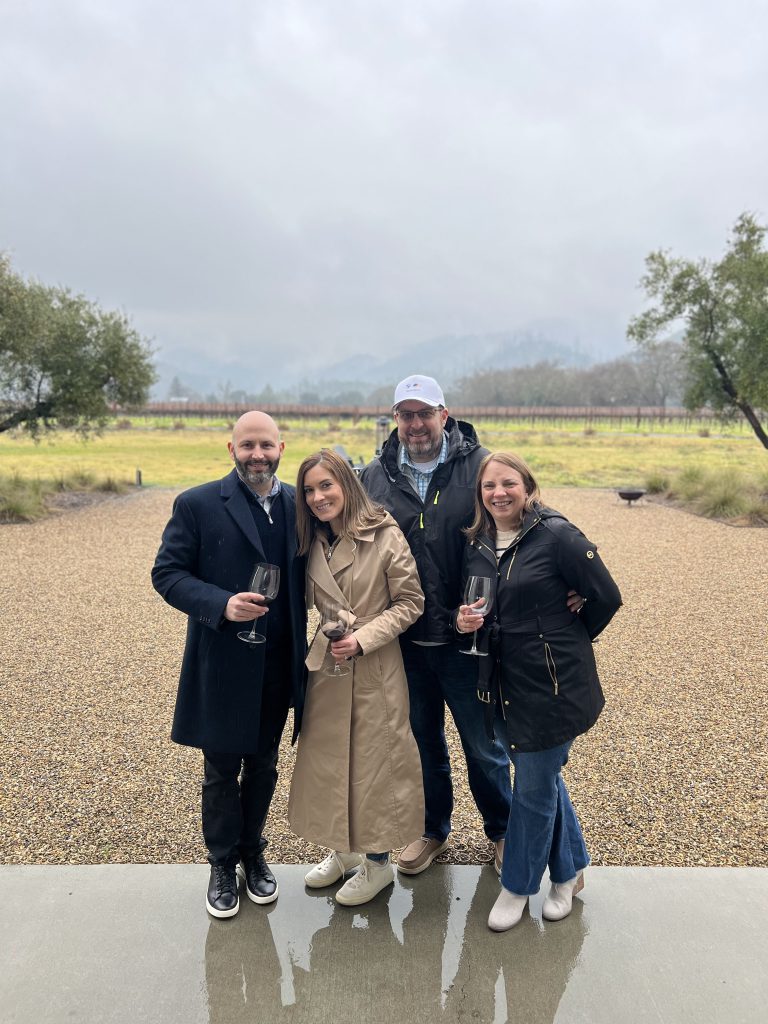
We found Steve through a mutual friend, Brad Alvord, and let me tell you—this guy is a legend. A retired pro with an encyclopedic knowledge of wine country, Steve handled everything: planning, reservations, logistics, and keeping us comfortable in his custom-built Mercedes adventure van or Land Rover Defender if you prefer (waters, umbrellas, Kleenex—he had it all). And most interesting of all? No GPS. This man knew every winding road, every shortcut, every winery owner.
Steve even made impromptu changes on the fly to the itinerary based on the current weather conditions and was very thoughtful about it. That’s how good he is, and you as a tourist can’t pull that off.
Trust me—you don’t want to drive yourself in Napa, especially if you’re doing it right. We had a full-day lineup, and there was no way we were attempting it on our own.
Morning Coffee – Plank Coffee, Healdsburg
Before diving into wine, I needed coffee.
I stopped at Plank Coffee, a small local café in Healdsburg known for its organic, small-batch roasts. Coffee was solid—no complaints there. The food, however, was all vegan. Nothing against vegan food, but when you’re about to spend the day drinking big, bold Napa reds, you kinda want eggs, bacon, and something substantial.
So, we grabbed breakfast sandwiches from the hotel instead and hit the road.
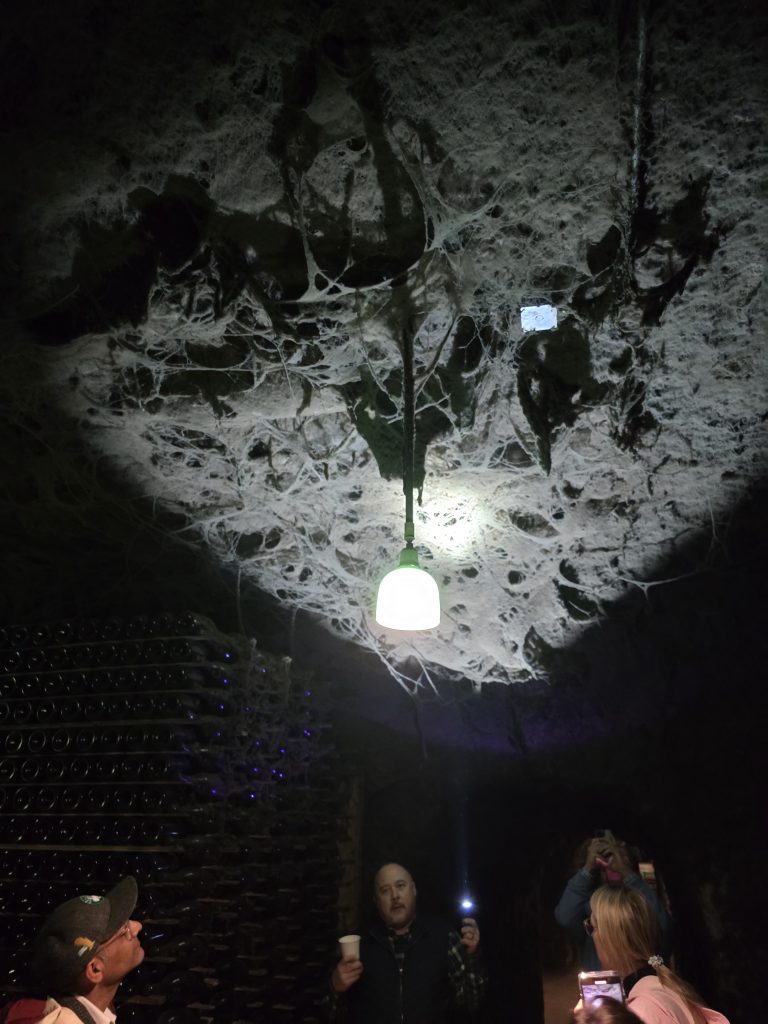
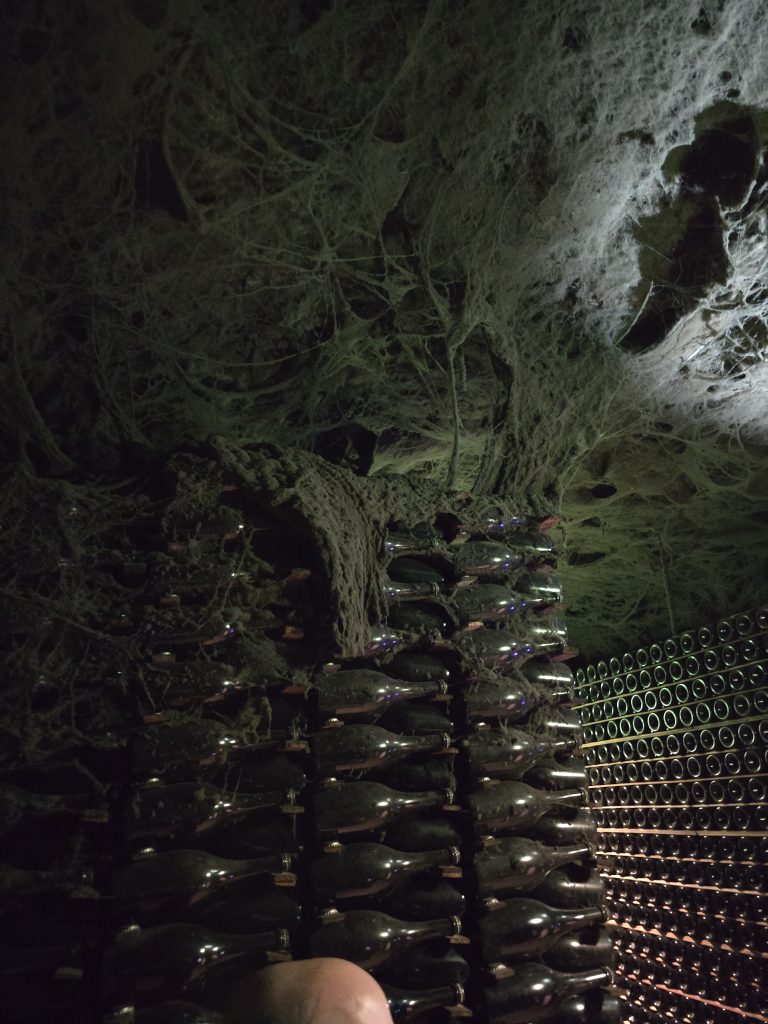
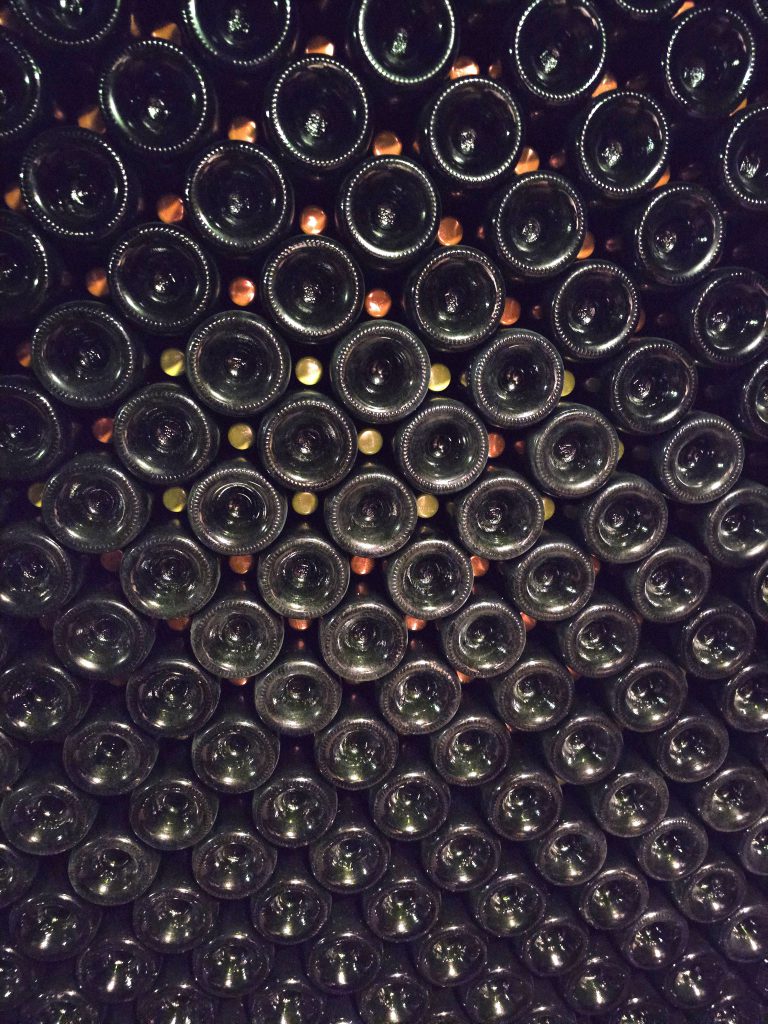
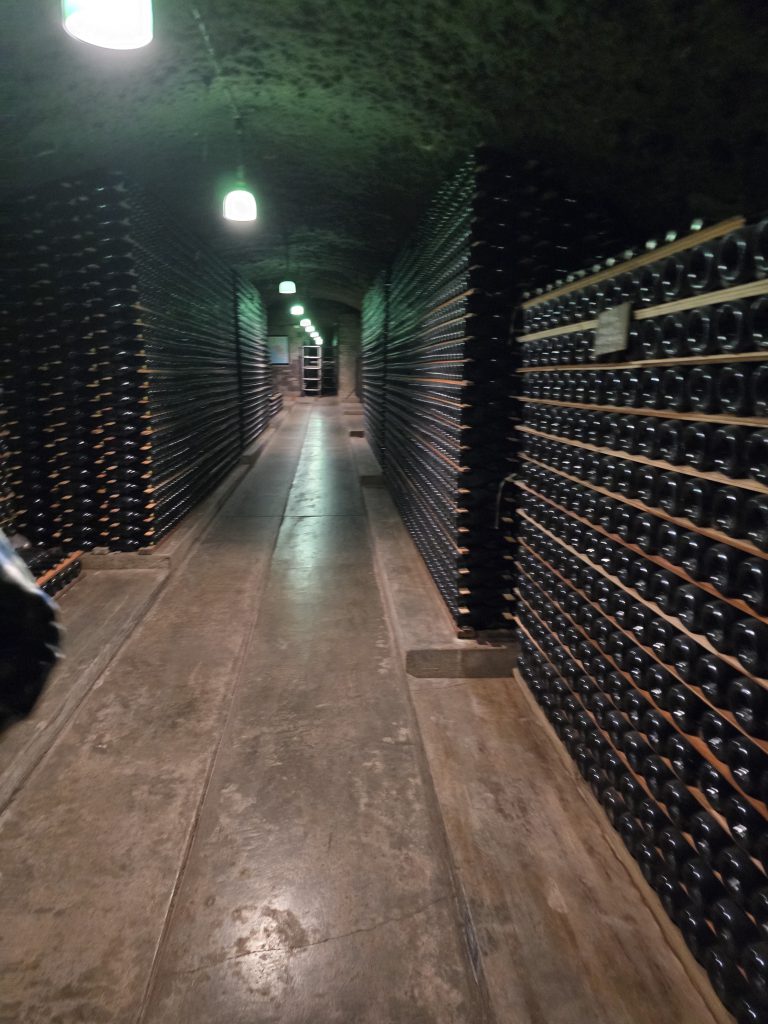
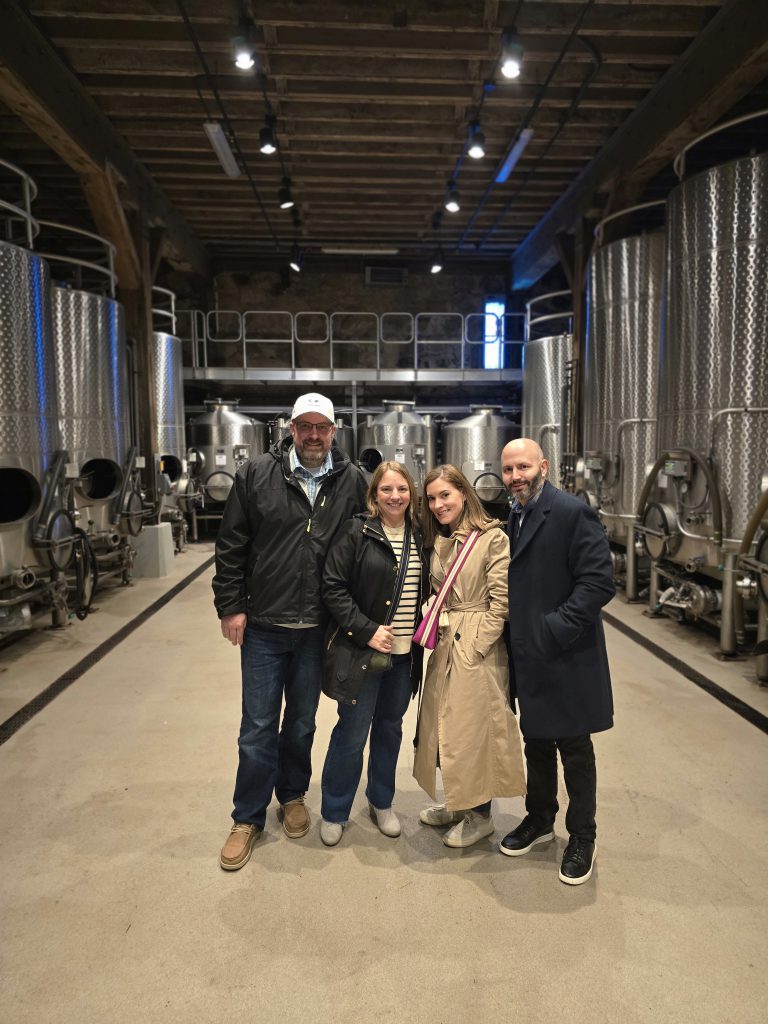
Stop #1: Schramsberg – Deep in the Caves of Bubbles
We kicked off the day with something unique—Schramsberg Vineyards, one of the oldest and most legendary sparkling wine producers in California. Established in 1862, their wines have even been served at the White House for over 50 years. If you think Napa is all about Cab, this place will change your mind.
But the real star here? The caves.
And when I say caves, I don’t mean a cute little tasting room with some dim lighting. I mean miles of hand-dug tunnels from the 1800s, lined floor-to-ceiling with free-stacked bottles, some of which were 80 deep. The walls were covered in a natural lichen that acts as the oxygen filtration system—no HVAC needed. The whole place felt like something out of Transylvania.
We walked through real candlelit corridors that I assume act as a simple “canary in a coal mine” (like if those go out, there’s no oxygen, so you might want to leave), learning about méthode traditionnelle—the painstaking Champagne-style process they use to make their sparkling wines. The craziest part? They still hand-turn every bottle (thousands of them) one by one to keep the yeast sediment moving.
Tasting-wise, we loved everything. We joined the club on the spot. 9/10 experience.
Lunch at V. Sattui – A Nostalgic Italian Picnic
For lunch, Steve had a few ideas, but I pulled an audible and requested V. Sattui, a spot I remembered loving 20 years ago. They’re known for their Italian market filled with fresh sandwiches, cheeses, and an assortment of wine-friendly snacks.
Unfortunately, construction had other plans.
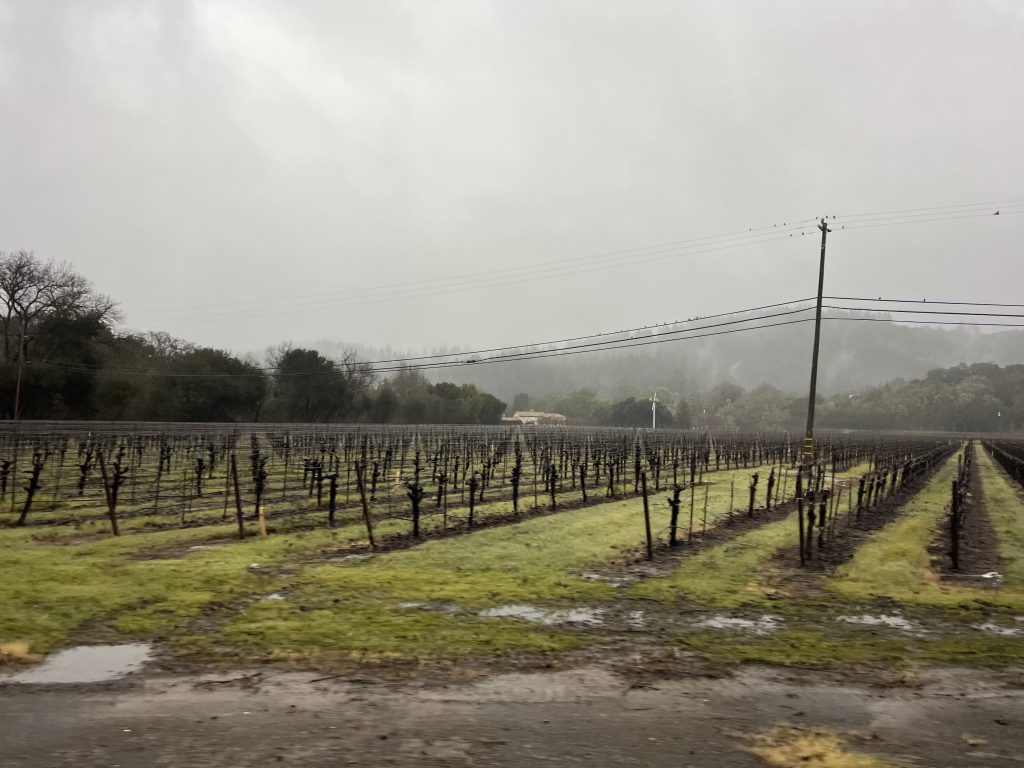
The once-great market had been relocated to a temporary trailer, and the hot food was coming from a food truck. Combine that with the cold, rainy weather, and the usual vineyard picnic vibe was pretty much nonexistent.
Still, we made the best of it. We grabbed a bottle of Gamay Rouge, a semi-sweet, cranberry-forward wine that I loved 20 years ago. This time? Tastes change. It was a little too sweet for my palate now, but still enjoyable, especially for lunch in the midst of tasting all big bold stuff all day.
Rating? 7/10 for nostalgia. Had the weather and construction been different, it probably would’ve been an 8.
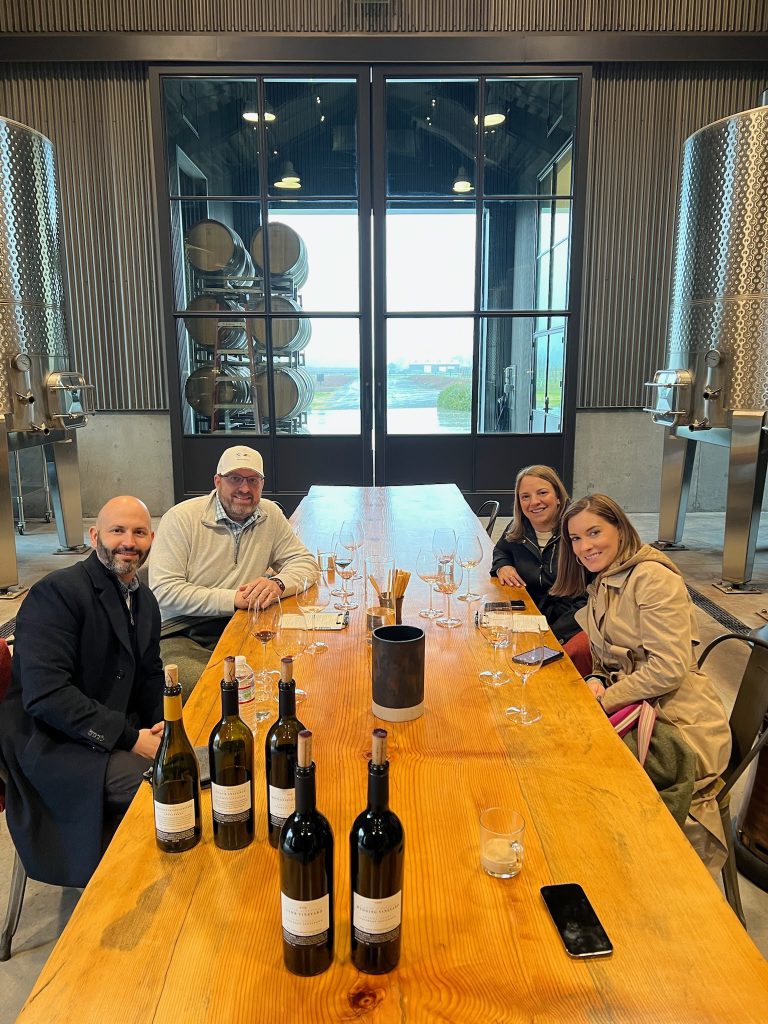
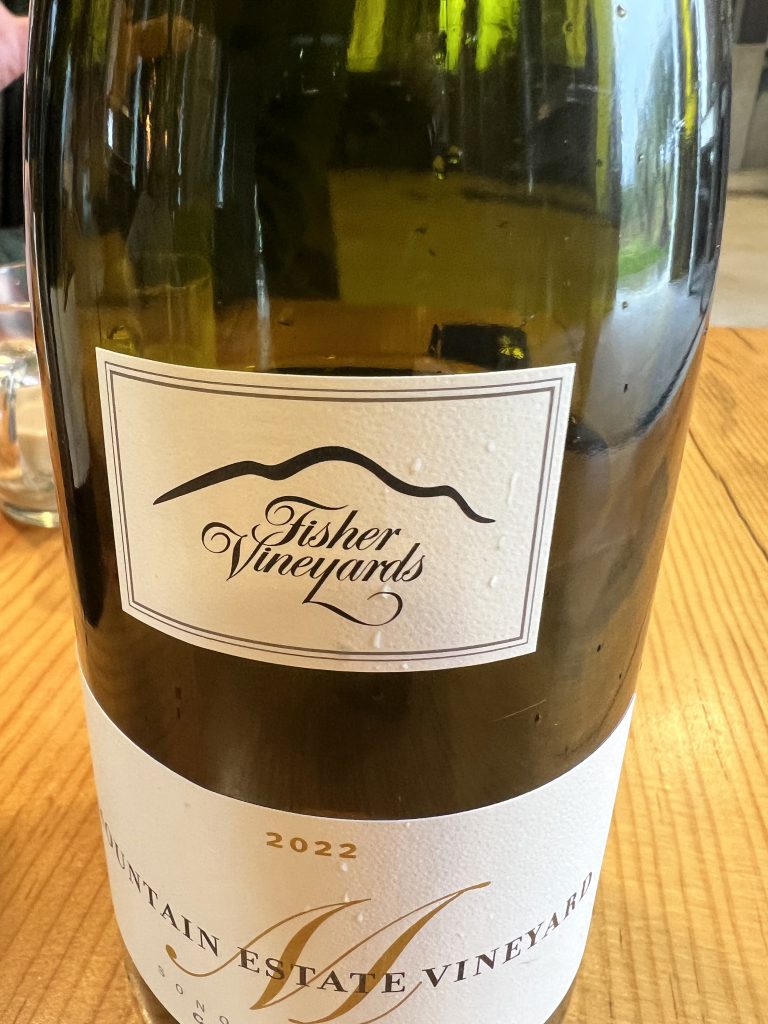
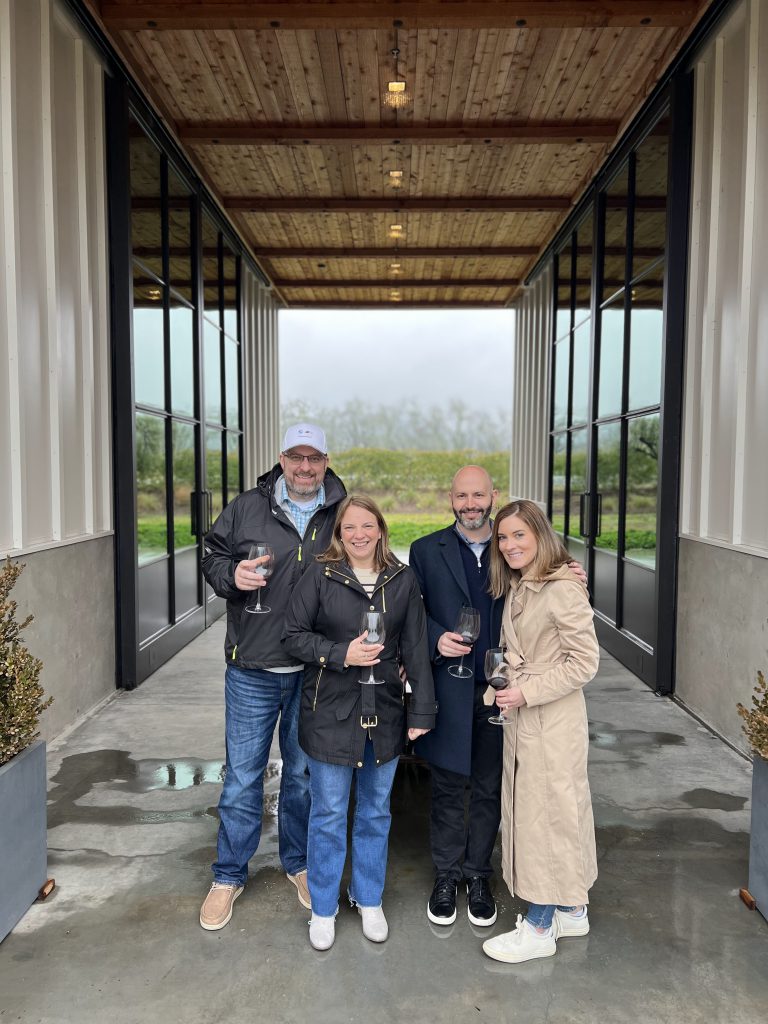
Stop #2: Fisher Vineyards – The Hidden Gem of the Trip
You ever have that moment on a trip when you realize this is the place you’ll be talking about forever? That was Fisher Vineyards for us.
This small, family-run winery completely stole the show. Unlike some of the bigger, commercial places, Fisher is tiny—just 28 employees do EVERYTHING. No outside contractors, no mass production, just a team that lives and breathes wine.
We were welcomed by Erik, our host, who had a stunning private setup right in the middle of the fermenters and presses. It felt like a VIP experience from the jump. The wines? Absolutely insane. We tasted through their lineup, talking in-depth about their old-world winemaking approach while sitting inside the heart of their production facility.
Erik noticed my BMW hat and we immediately hit it off, swapping car stories for half an hour. By the end of the tasting, we were exchanging numbers like old friends. I’m working on getting him to come to Ohio to offer wine tastings at our country club.
Not surprisingly, we joined the wine club. 10/10—must visit.
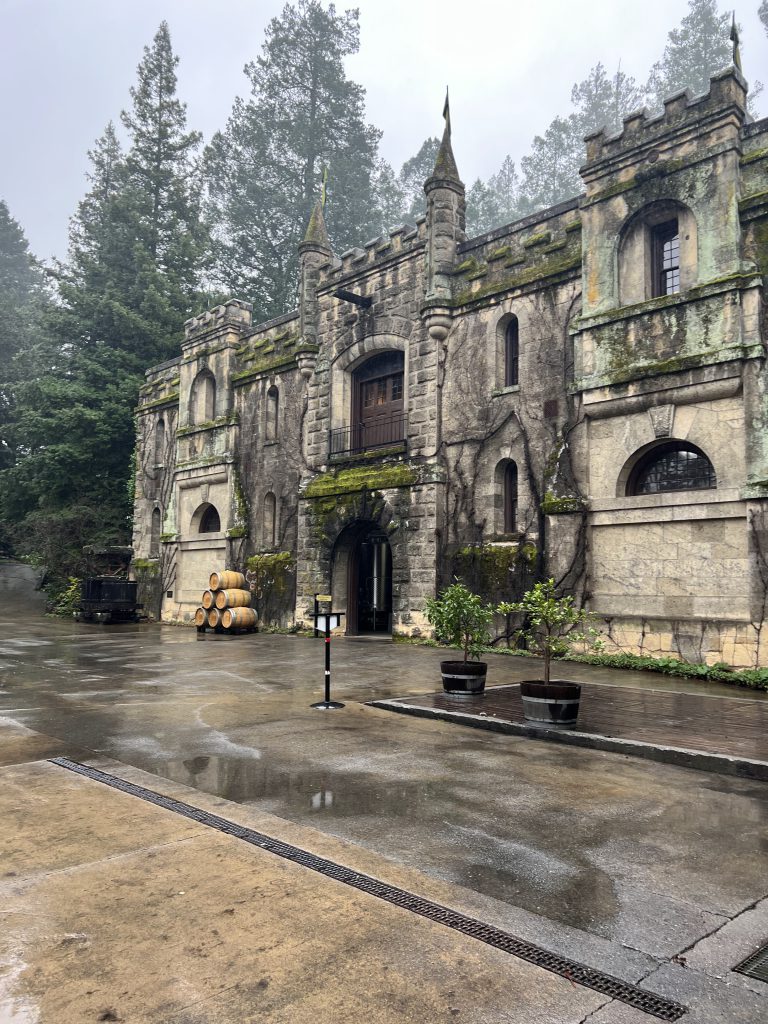
Stop #3: Chateau Montelena – A Piece of Napa History
Our last stop of the day was Chateau Montelena, one of the most iconic wineries in Napa. If you’ve seen Bottle Shock, you know its legendary backstory—this is the winery that put Napa Valley on the map by winning the Judgment of Paris in 1976, a moment that stunned the wine world and proved that California could compete with France.
The estate itself is stunning, with a beautiful stone chateau and serene lake, making it one of the more picturesque wineries we visited. However, the tasting experience was a bit different from what we had grown to love over the trip. Instead of the intimate, sit-down tastings we had at Fisher and Schramsberg, this was more structured—a classic bar-style tasting with a group. For first-time visitors to Napa, it’s a fantastic introduction, but for those who love deep-dive, conversation-driven tastings, it felt a bit less personal.
That said, we had a cool unexpected bonus. When we mentioned our connection to Chateau Montelena through our St. Damien’s Hospital fundraiser (where former owner Judy Barrett generously donates wine for our auction), their head of hospitality, Mark, came out to personally greet us. He even took us on a private tour of the fermentation room and shared some behind-the-scenes history of the winery. That extra touch made the visit really special for us.
And of course, we still left with six bottles, so it’s safe to say the wine spoke for itself.
Would we return? Probably not, simply because we now know that we prefer the smaller, more personal winery experiences. But for anyone looking to check off a historic bucket-list winery, Chateau Montelena is a must-see and I am glad we did it.
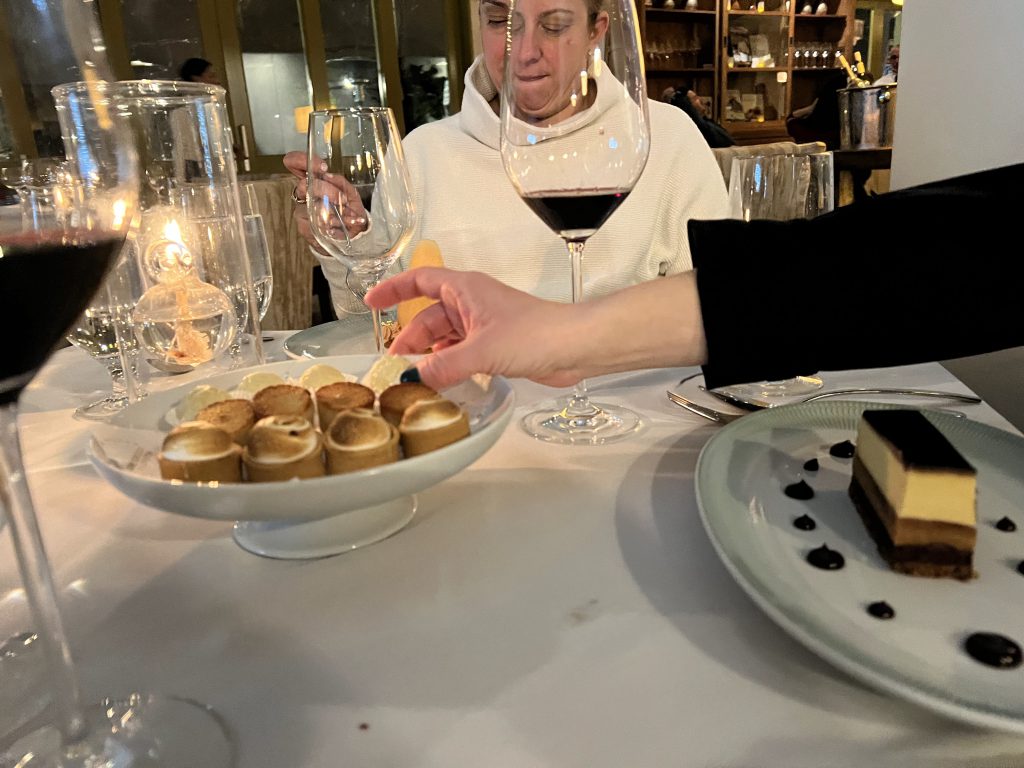
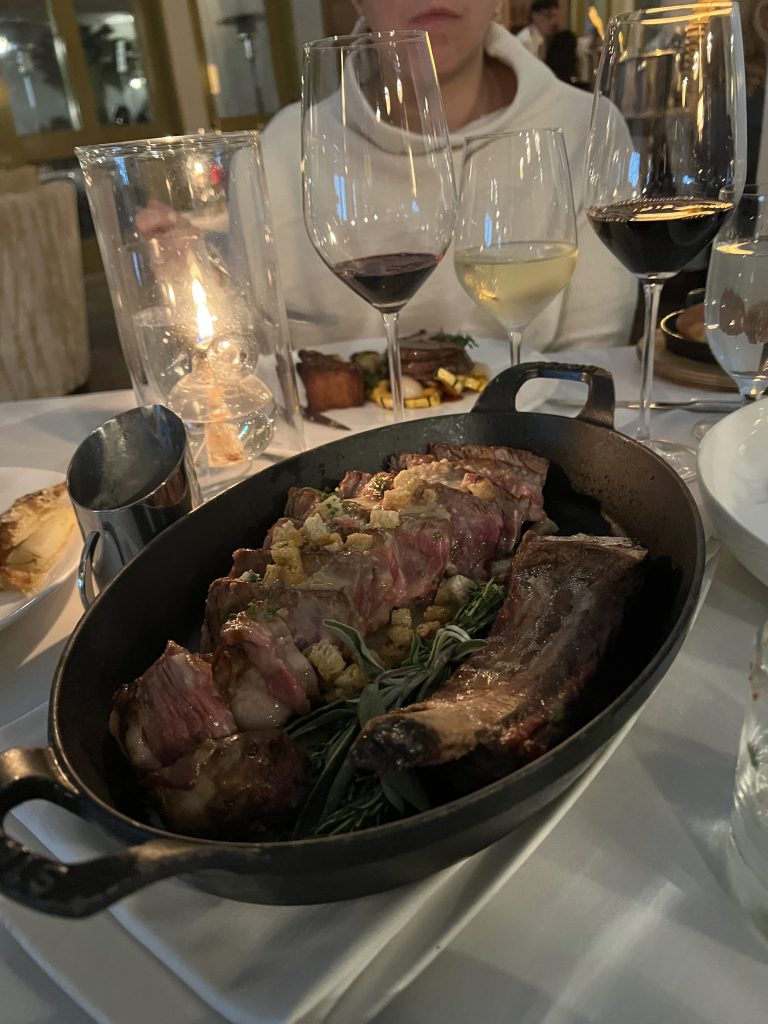
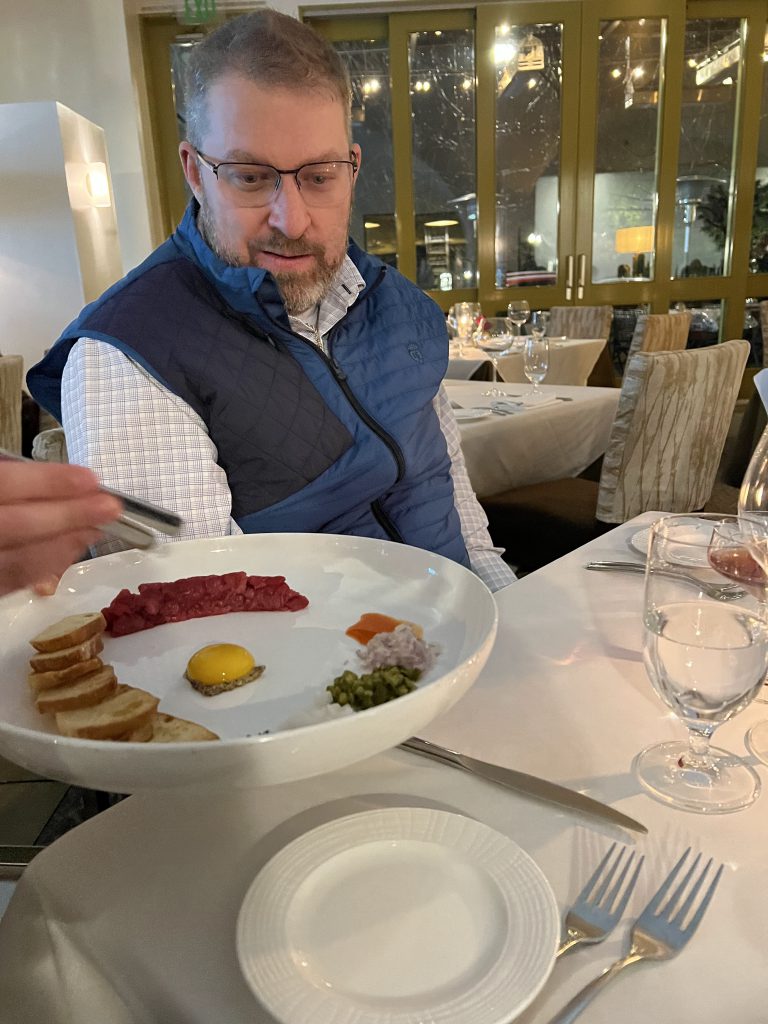
Dinner: Dry Creek Kitchen – Fancy, but Maybe Too Fancy
After a long day of tasting and eating, we were running on fumes. But we had a reservation at Charlie Palmer’s Dry Creek Kitchen, one of Healdsburg’s finer dining spots. White tablecloths, top-tier service, serious wine list. As a matter of fact we were so tired we were woken up by Matt and Lindsey at 7:30, and our reservations where for 7:30… So we went into hyperdrive and got there at 7:45 and they were happy to honor our reservation still.
Lindsey loved her halibut. Matt and I split a 32-ounce, 28-day dry-aged ribeye. It was good but not mind-blowing. The tableside beef tartar was exceptional however. Maybe we were just too full from the day’s indulgences, but we realized we actually preferred the more laid-back, small-plates approach.
Would I go back? Probably not, but not for any negative reason—just personal preference at that time.
Final Thoughts on Day 2
- Silver Steve is the man. If you’re going to Napa, hire him.
- Fisher Vineyards was the GOAT—don’t miss it.
- Schramsberg’s caves were straight-up magical.
- Chateau Montelena? Cool history.
- Dry Creek Kitchen? Fancy, well-executed, but we were too stuffed to truly enjoy it.
After 12 hours of wine, food, and exploring, we were toast. Back to the Hilton Lodge for some much-needed sleep before another big day.
Day 3: A Spa Reset and an Unexpected Dinner Hit
After two full days of wine tasting, eating, and exploring, we needed a break. A day to reset, recover, and recharge before diving back into more tastings.
Enter Solage Spa.
A Morning at Solage Spa – Ultimate Recovery Mode
We booked massages for all and the girls booked facials at Solage, Auberge Resorts Collection—one of the premier spa destinations in Napa Valley. There were two major spa options in the area, and while Solage was expensive ($1,100 for just Sarah and me), the other one was even more. So, Solage it was.
The best part? Booking a spa service gives you full-day access to their spa facilities, and they are pretty great. So, we made sure to take advantage.
But first, breakfast.
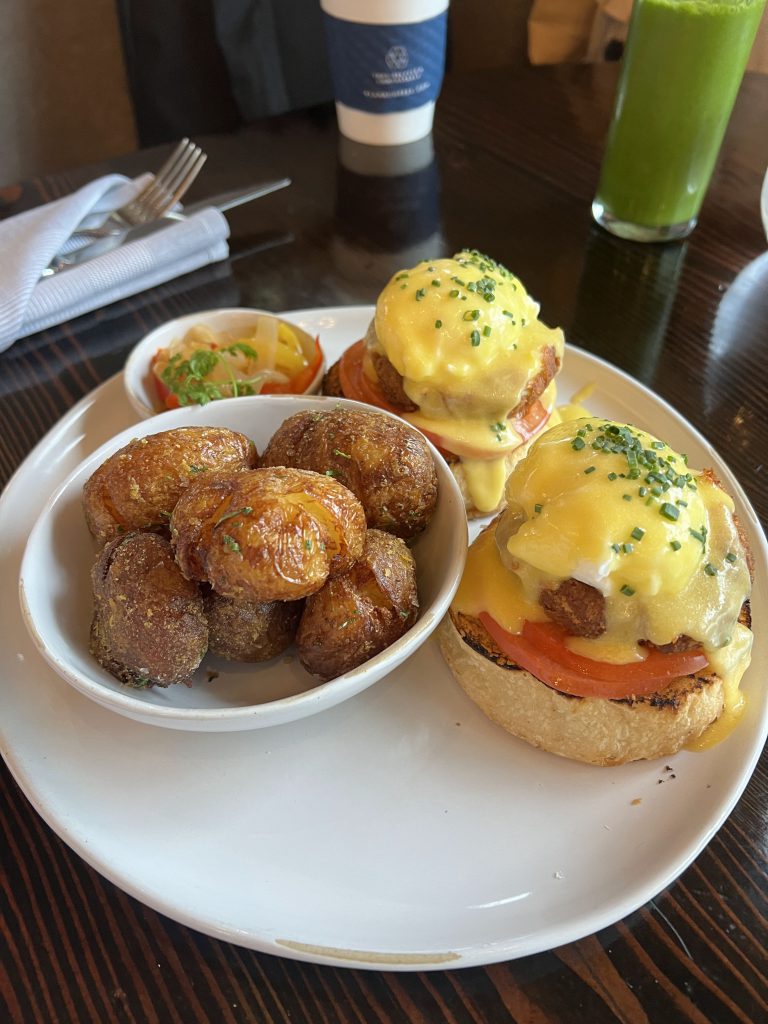
We arrived two hours early and grabbed breakfast at Solbar, their on-site restaurant. As expected, the menu was very California—think avocado toast, Dungeness crab benedict, smoothies, and blood orange mimosas. Everything was good, but also very overpriced, but such is life in California. Let’s just say we weren’t blown away, but we weren’t mad about it either. It’s possible there was some hangovers in our presence.
After breakfast, it was spa time.
- Two massive 104°F hot tubs – One saltwater, one mineral
- A magnesium soak – Sounds fancy, but in reality, it was cold (ambient temperature, aka took some getting used to in the rain)
- Sauna & steam room – A nice warm-up before the main event
- A sub-50-degree cold plunge – Because why not?
Now, let’s talk about the cold plunge.
I did it twice. The second time, I held for two minutes. It was brutal, but also kind of awesome. There’s a moment when you have to mentally disconnect from reality to fight the urge to jump out. And as much as it sucked in the moment, I felt absolutely incredible afterward.
Then came the massages.
My therapist asked if the pressure was okay, and I said yes. That was a mistake, but that’s on me, make sure to communicate and not be a tough guy. I was sore for hours afterward. But hey, no pain, no gain. Everyone else thoroughly enjoyed theirs.
While the girls got their facials, Matt and I spent an hour in the hot tubs, drinking French 75s and soaking in the cold rain. It was exactly what we needed after 48 hours of heavy drinking and eating.
An Afternoon Nap & A Laid-Back Snack in Healdsburg at the hotel
After the spa, we headed back to the hotel for some much-needed rest. We had a snack of our Boudin sourdough from San Francisco, plus some cheese and charcuterie we had picked up from a local market earlier in the trip. Then, we crashed for a nap before dinner.
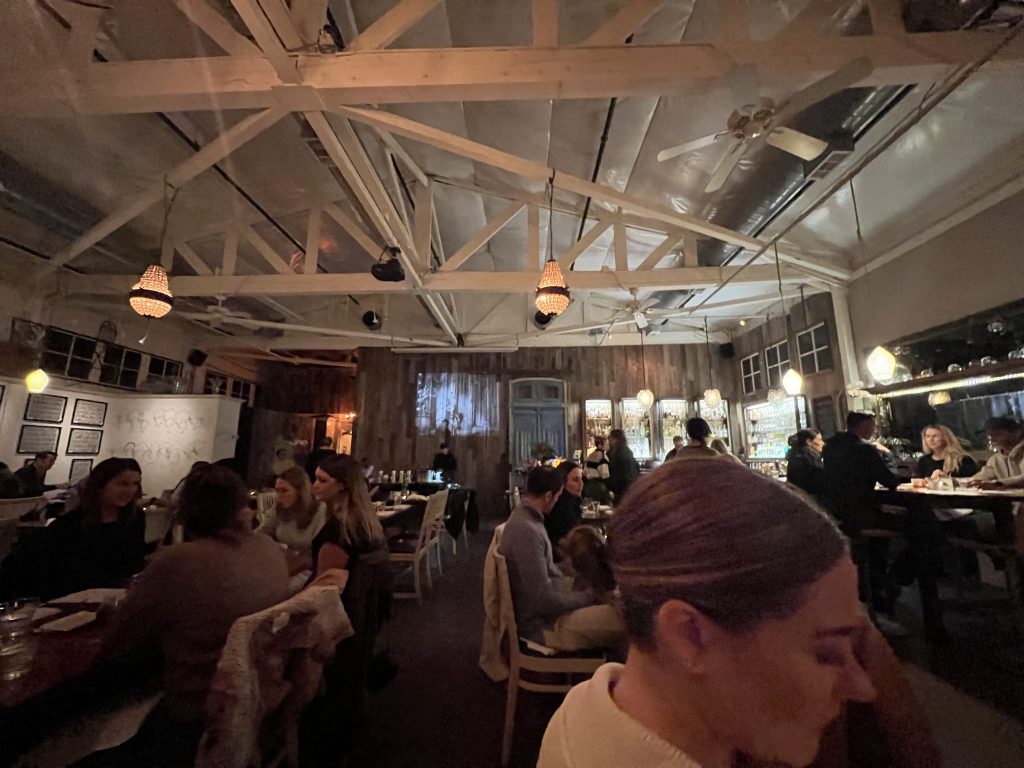
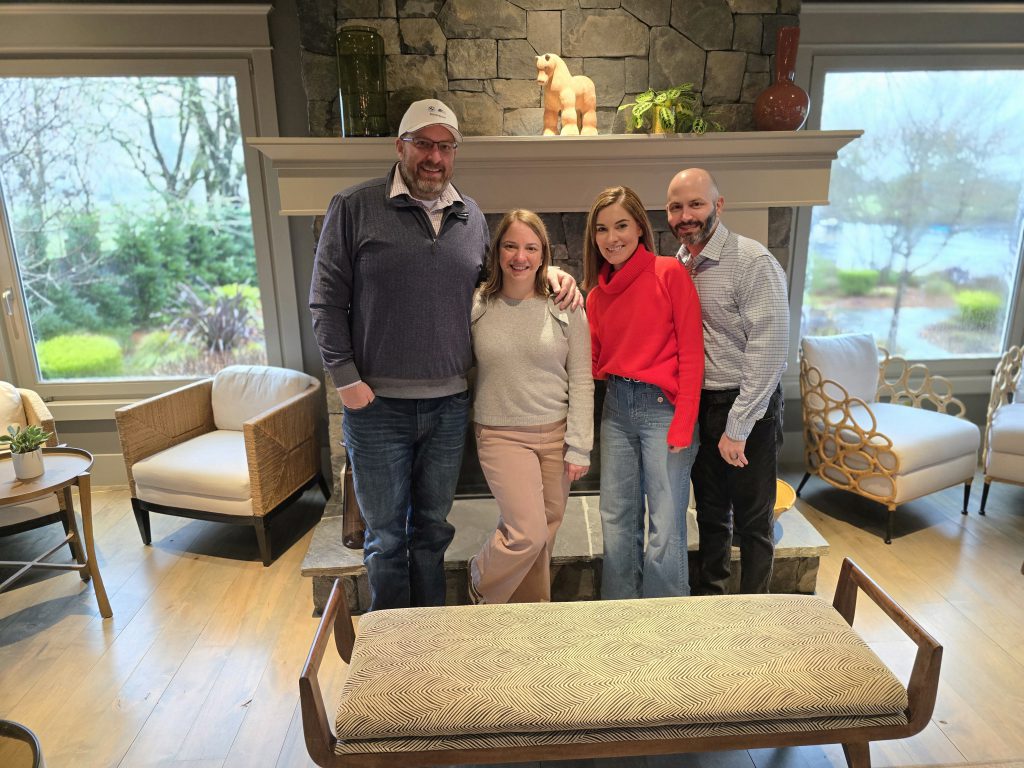
Dinner at Barndiva – Eclectic, Artsy, and Worth the Visit
For dinner, we chose Barndiva, a spot known for being as much an art gallery as it is a restaurant.
The vibe? Very eclectic.
- Coat racks were made from old cobbler shoe molds
- Walls were covered in hand-drawn art
- It felt like a funky Parisian bistro mixed with a speakeasy
But the real highlight? The drinks.
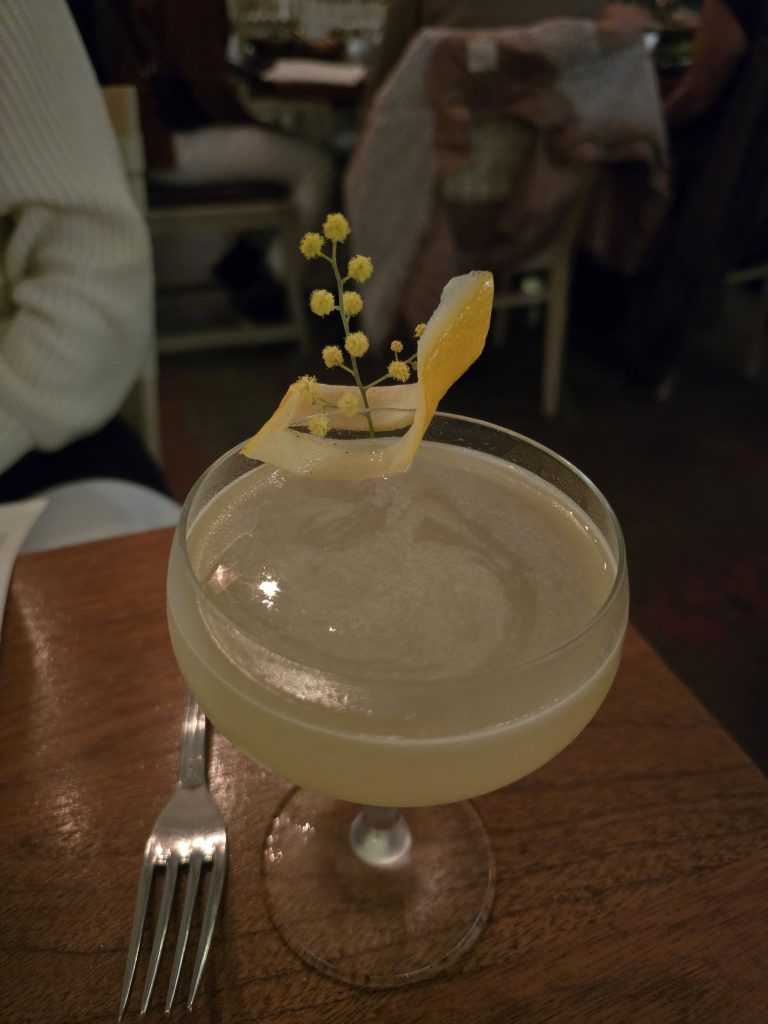
Their bar setup looked straight out of a Prohibition-era speakeasy, with dim lighting, walls of illuminated bottles, and bartenders in aprons making some of the best cocktails we had on the trip.
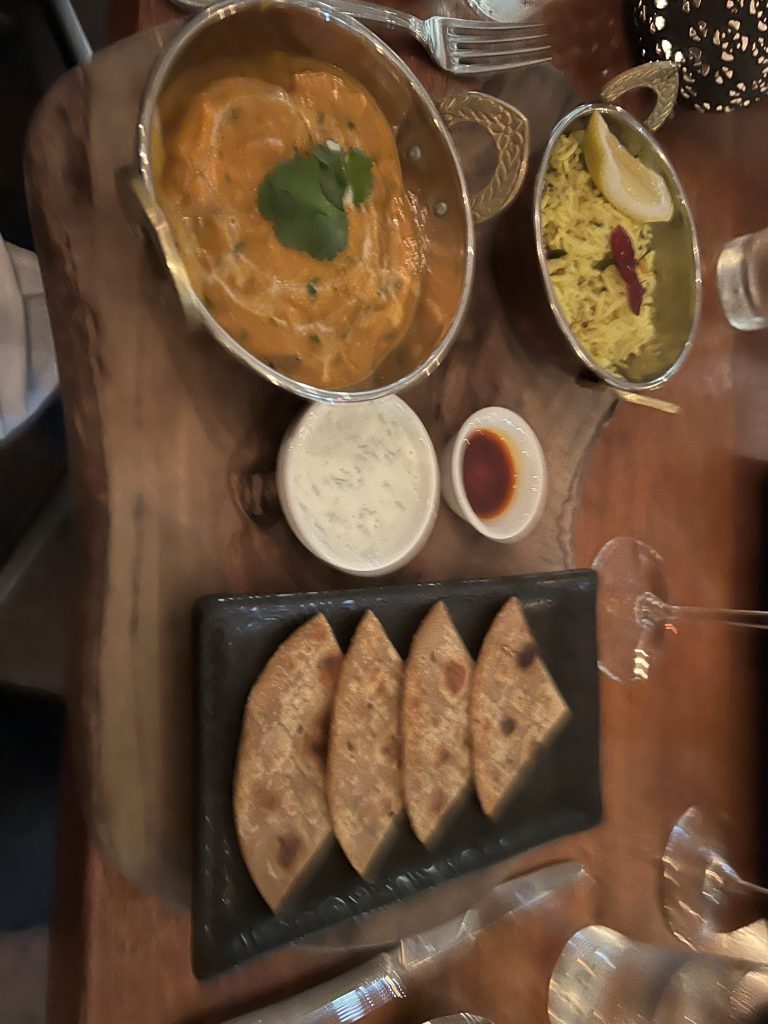
Food-wise, the menu was all over the place—in a good way.
- Matt had Tikka Masala (Indian-inspired)
- Lindsey had a Jucy Lucy burger (Minnesota-style stuffed burger)
- Sarah had a Mediterranean-style crispy chicken with chimichurri
- I had sunchoke soup to start, followed by handmade clam pasta

Everything was good. It was a little bit of everything but somehow worked.
- Drinks? Outstanding.
- Food? Solid.
- Would we go back? Absolutely. 8/10.
Final Thoughts on Day 3
This was the reset day we needed after two full days of wine tasting.
- Solage Spa was expensive but worth it. The hot tubs, cold plunge, and sauna were a game-changer.
- The cold plunge was absolutely brutal—but also kind of amazing.
- Barndiva was a cool, unique dining experience. Definitely worth checking out.
Day 4: One Last Round of Wine & the Perfect Final Stop
“The best trips aren’t just about the places you go, but the stories you bring back—and we left Napa with plenty of both.” – Me, feeling whimsical
Morning Coffee – Black Oak Coffee Roasters, Healdsburg
For our final morning in Healdsburg, we grabbed coffee and breakfast at Black Oak Coffee Roasters, a local favorite known for its small-batch roasting and award-winning beans.
The coffee was fantastic, but the food was just as impressive. We had:
- Breakfast burritos – Hearty, well-balanced, and exactly what we needed before another day of wine.
- Chia seed overnight oats with strudel – A perfect mix of healthy and indulgent. Obviously, the girls chose this…
It was a great way to start our last day before heading out for more tastings.
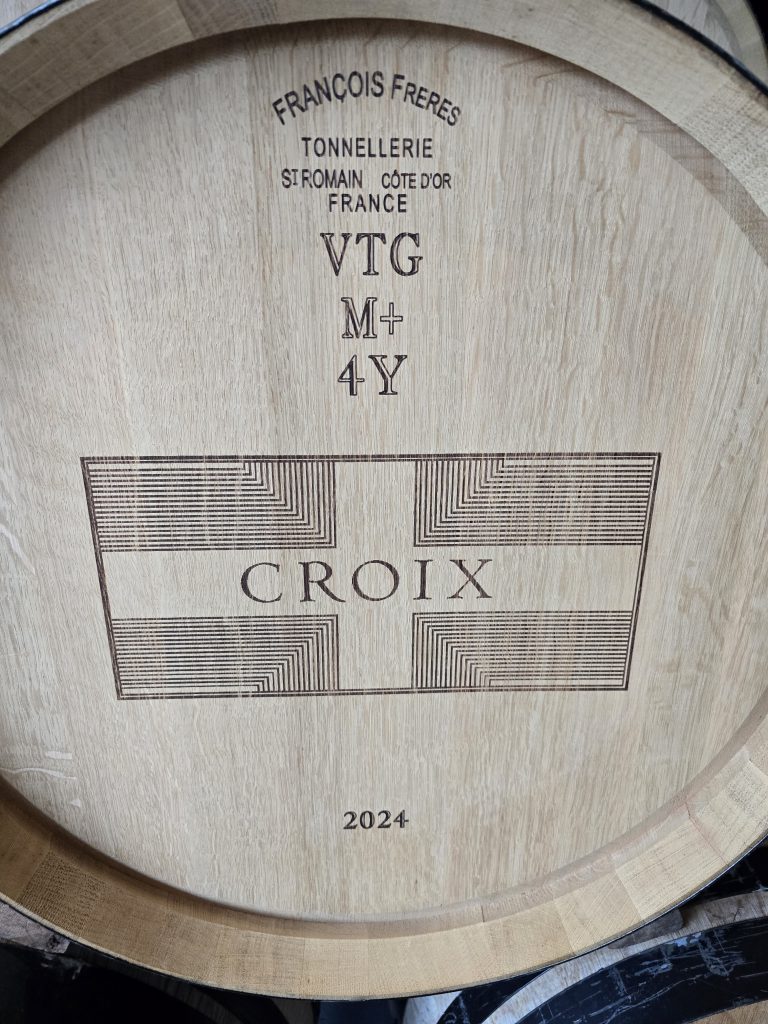
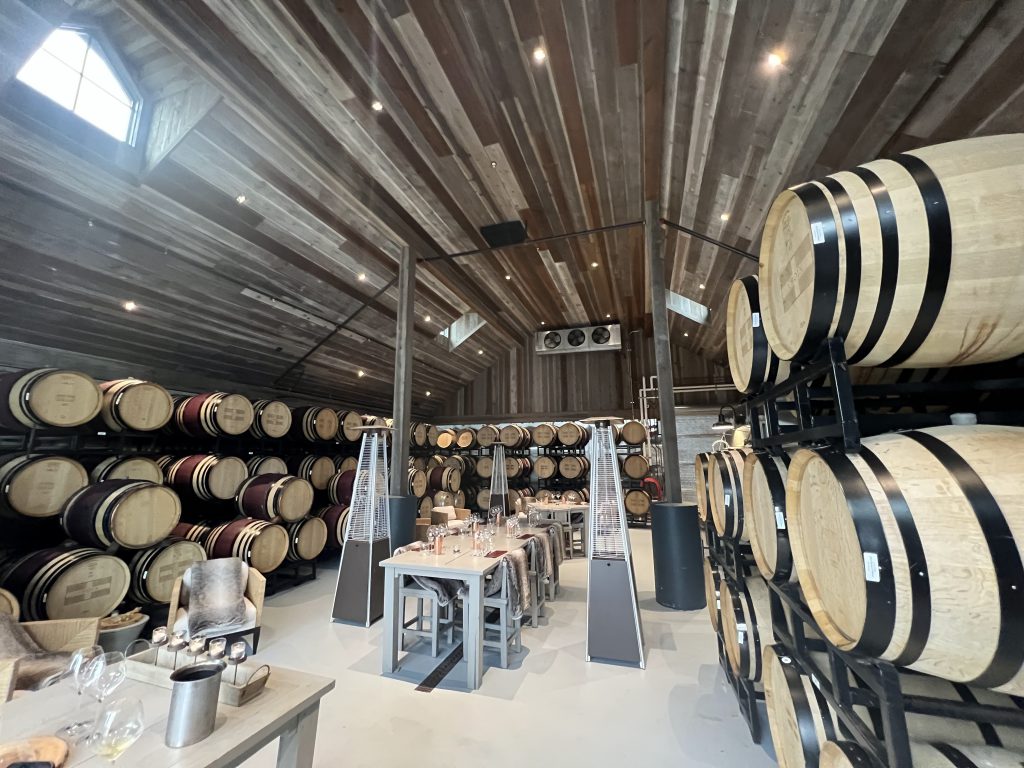
Stop #1: Croix Estate – A Cozy Fireside Tasting
Our first stop was Croix Estate, a small-production, high-end winery specializing in Chardonnay and Pinot Noir. This was another home run for the “small, boutique winery” category.
We stepped off the van and were immediately greeted with a glass of Chardonnay—a smooth, crisp start to the day.
But the best part? The setting.
Instead of a traditional tasting room, we were led inside their estate home, where we had a private tasting by the fireplace. The whole experience was incredibly relaxed and intimate.
- The wine? Fantastic.
- The host? Amazing.
- Lindsey joined the wine club, so you know it was good.
A perfect way to start the day.
Stop #2: Lunch at Diavola – Pizza & a Thank You to Steve
For lunch, we went to Diavola Pizzeria & Salumeria, a wood-fired pizza spot in Geyserville. It was exactly what we needed—casual, delicious, and satisfying.
Since Steve had been such a legend throughout our trip (and his pricing is flat-rate with gratuity included), we invited him to eat with us. It was a small way to say thanks for everything, and he really appreciated it, and we really enjoyed his company.
- We had a charcuterie board with blood sausage
- Tried three different pizzas
- Everything was excellent

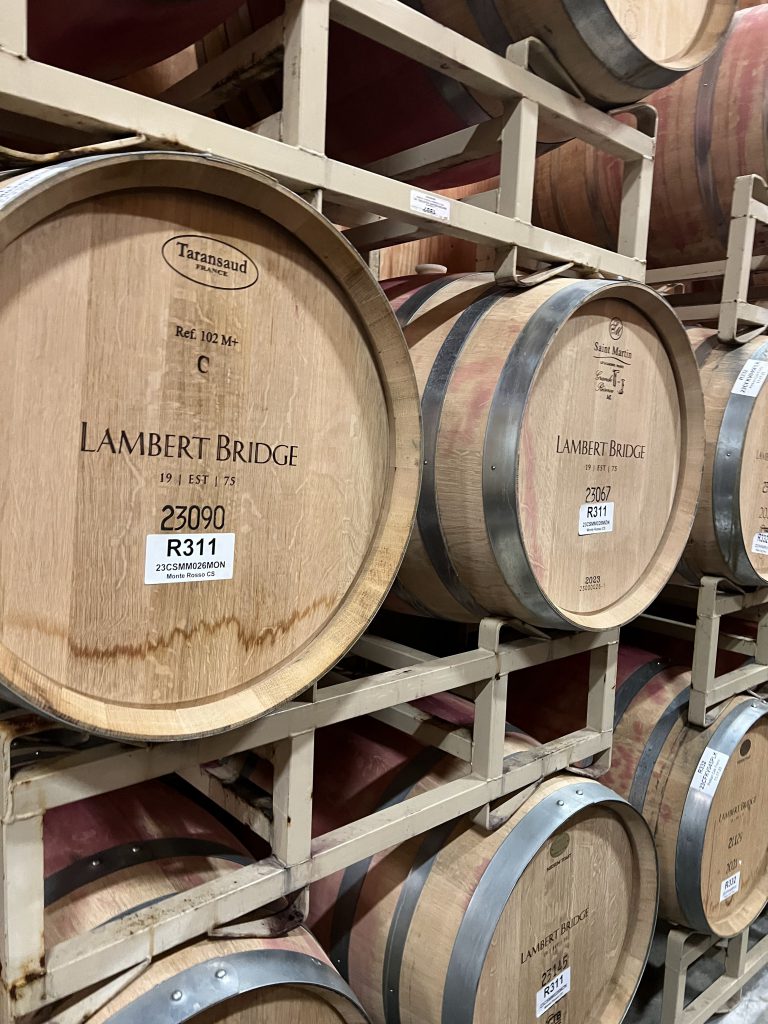
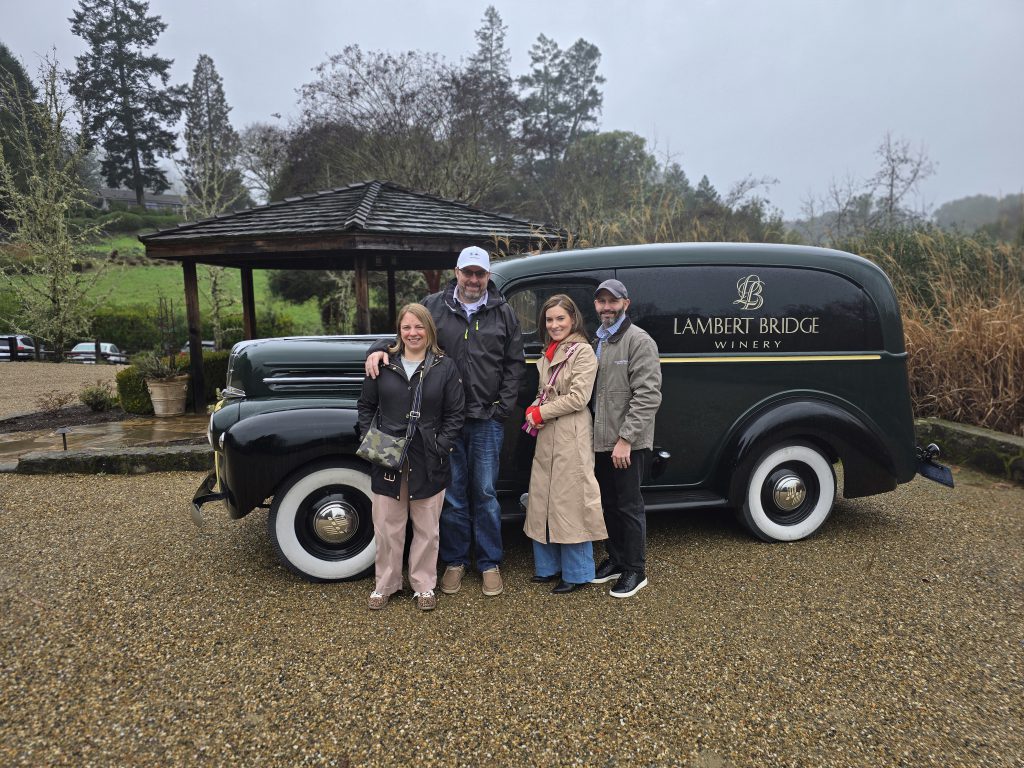
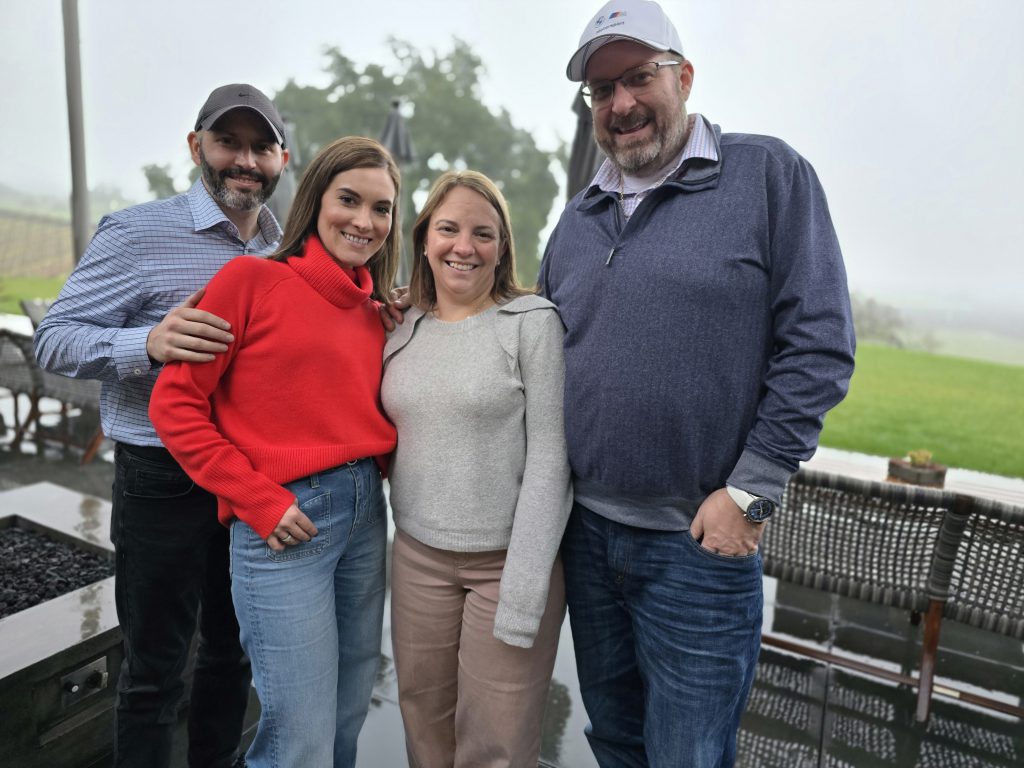
Stop #3: Lambert Bridge – A Beautiful, But Mixed Experience
Steve had high expectations for Lambert Bridge, thinking it would be a perfect fit for us, and home of his personal favorite wine in the valley (which we sadly were not able to try). And while it had a lot going for it, it didn’t completely hit for us.
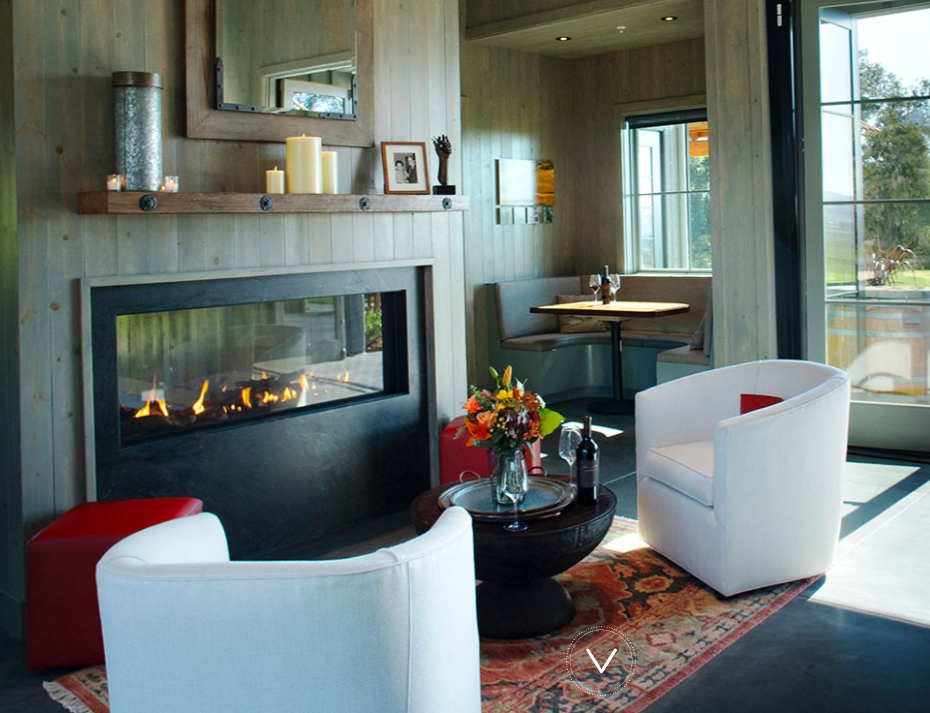
First, the setting was beautiful—a rustic, cozy winery surrounded by towering trees, with a barrel-lined tasting room and gorgeous chandeliers.
But compared to our other tastings, it felt a little less personal. There were other groups tasting at the same time, which made it a bit distracting compared to the private, intimate experiences we had been enjoying.
That said, it was far from a bad experience, and we still found some wines we really liked:
- Sauvignon Blanc
- Cuvee Blanc
- Cabernet Sauvignon
We ended up joining the club, but more as a strategic move—they waived the substantial tasting fee if we did, so we figured we’d stock up for a year and then move on.
Would we return? Probably not, but it was still a nice stop.

Stop #4: Robert Young Estate – The Perfect Final Stop
Steve couldn’t have picked a better place to end the trip.
Robert Young Estate is another small, family-run winery, and it ended up being one of our absolute favorites—second only to Fisher.
We had a private tasting by their fireplace (which, fun fact, is exactly the one featured on their website). The wines were incredible—so much so that, yes, we joined another wine club.
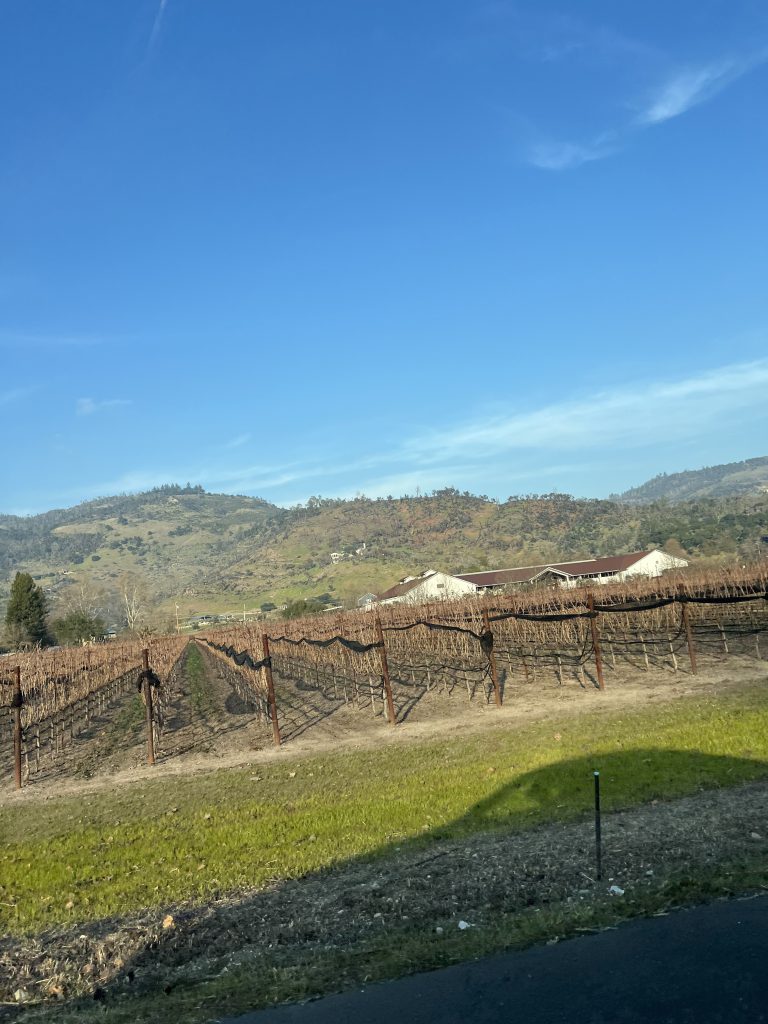
Even with the winter fog and barren vines, the view was stunning, and I can only imagine how breathtaking it must be in peak season.
Would I go back? Without question.
Final Dinner Plans? Changed.
We had originally planned to have our final dinner at Valette, one of Healdsburg’s most highly-rated restaurants.
But after four days of tastings, big meals, and nonstop activities, we made the right call to just stay in:
- Ordered pizza in
- Ate our leftover snacks from the market
- Fully embraced a chill night before heading home
It was exactly what we needed.
Final Thoughts on Day 4 & The Trip Overall
After four days in Napa & Healdsburg, we learned a few things:
- Silver Steve is the GOAT. If you’re visiting wine country, hire him.
- We love small, family-run wineries. Fisher, Robert Young, Croix, and Schramsberg were the highlights.
- We prefer intimate tastings over large, commercial setups.
- Lambert Bridge and Chateau Montelena weren’t bad, just not quite our style.
- Healdsburg is the perfect place to stay and eat.
Would we do it again? Absolutely. In fact, Steve already has curated in his mind after getting to know us six more wineries in mind for our next visit.
Until next time, Napa. 🍷